Safety / Add Truck
Step 1.
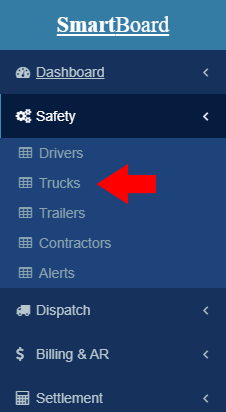
Click on Trucks under Safety menu.
Step 2.
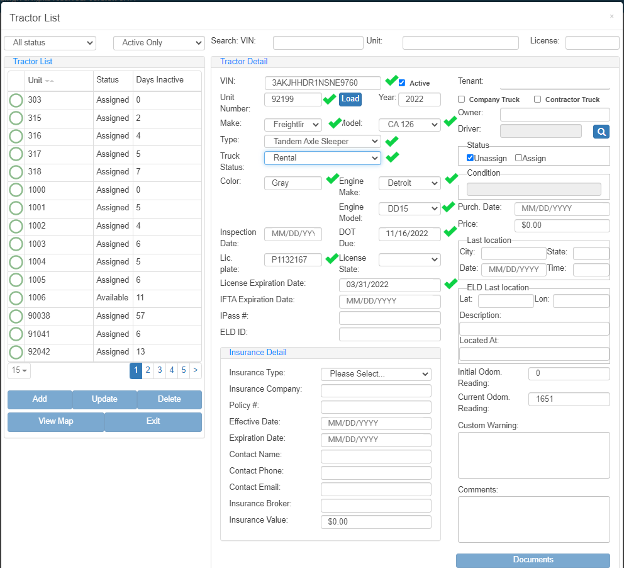
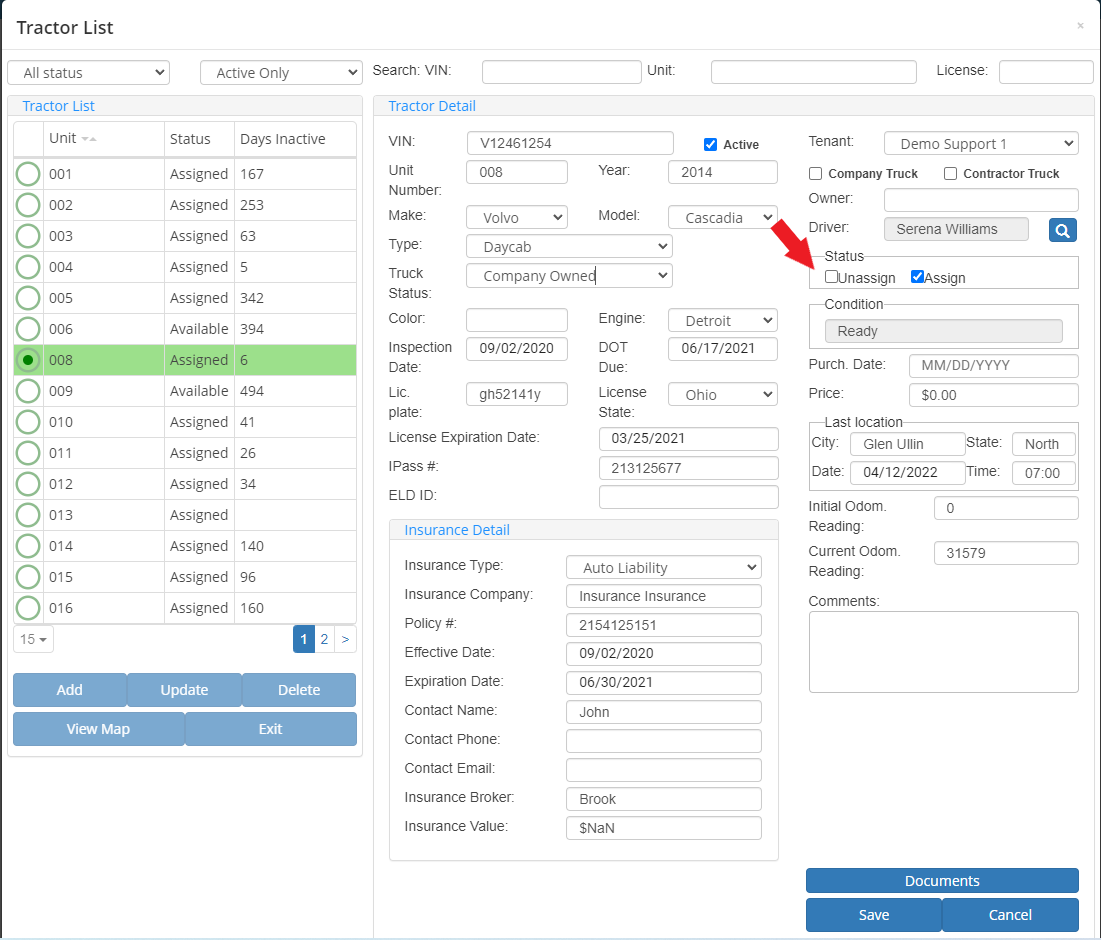
On Tractor List click

then enter tractor information in Tractor Details section.
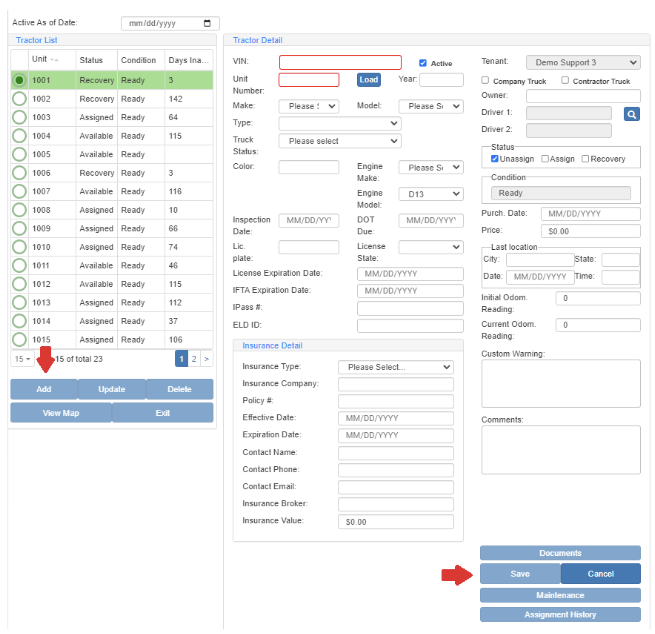
All fields with red squares are required.

Field legend:
Checkbox “Active” - By checking this box, you can either mark the truck unit as active or inactive depending on its status.
Checkbox “Company/Contractor Truck” - You can select whether this truck unit is company owned or for owner operator.
Checkbox “Status” - You can choose the status of the truck unit by checking one of the boxes: “Unassign” to unassign the truck unit from the driver, “Assign” to assign the truck unit to a driver and “Recovery” if the truck unit is in maintenance.
Last location - This field shows the last location of the truck unit, if you are not integrated with an ELD it will be based off the last load from SmartBoard and if you are integrated it will show the ELD last location.
IPASS -This is where you add the transponder number for the tolls.
ELD id - If you have integrated your ELD provider with your SmartBoard account, here is where you will be putting your ELD id for the truck unit.
Compass Truck Rental Integration
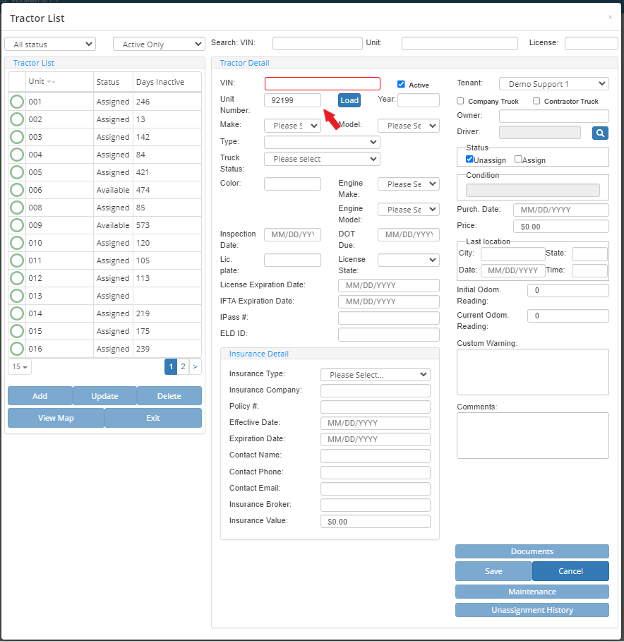
If you are renting or leasing a Truck from Compass Truck Rental and Leasing, you don’t have to make a full entry of the truck information in the system.
All you need to do is enter the unit number in the Trucks form and click Load.
All the information available for that unit number will be automatically entered in SmartBoard.
After loading the Truck.
Step 3.
Click

Safety / Add Trailer
Step 1.
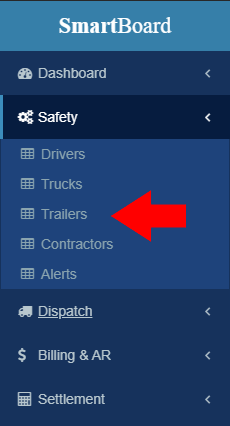
Click on Trailers under Safety menu.
Step 2.
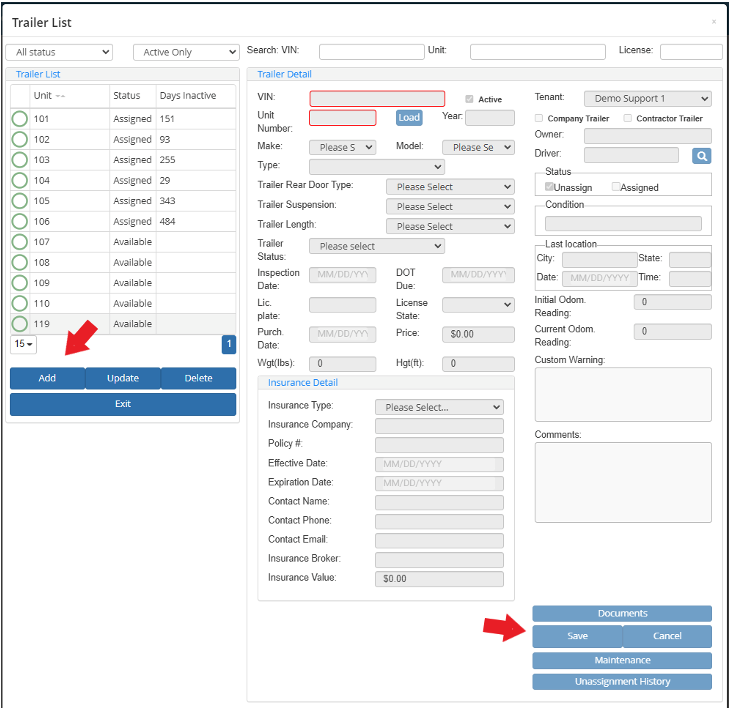
Click on
Step 3.
Enter Trailer information
Step 4.
Click
Step 5.
Click on X on the upper right corner to exit the form.
Safety / Add Drivers
Step 1.
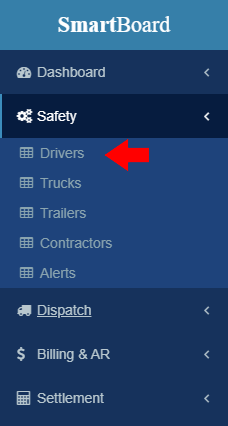
Click on Drivers under Safety menu.
Step 2.
Click on
Step 3.
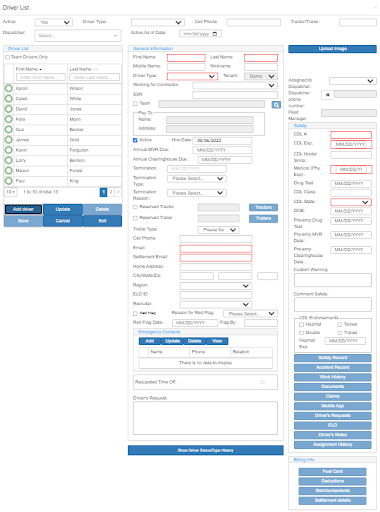
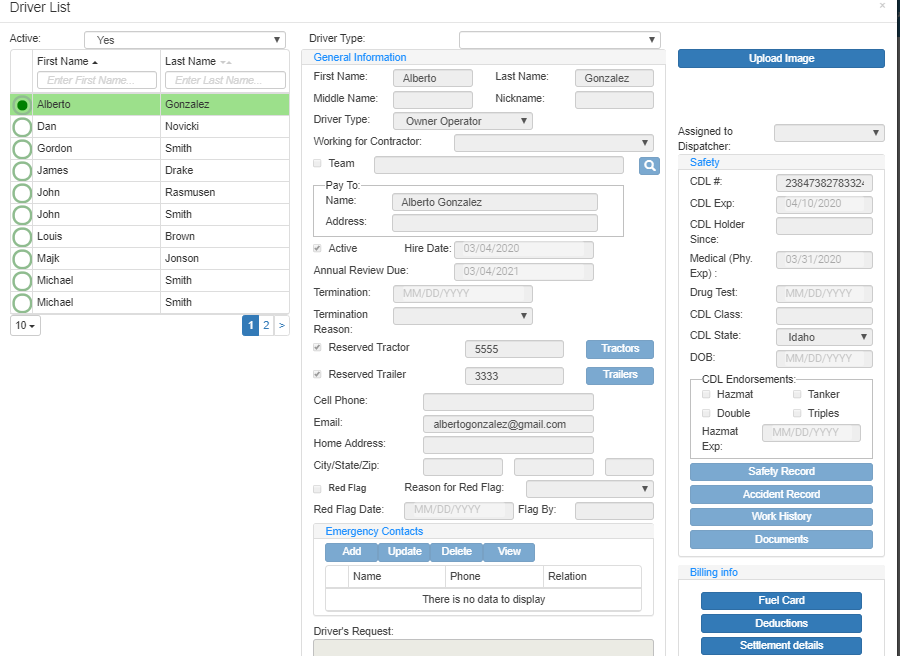
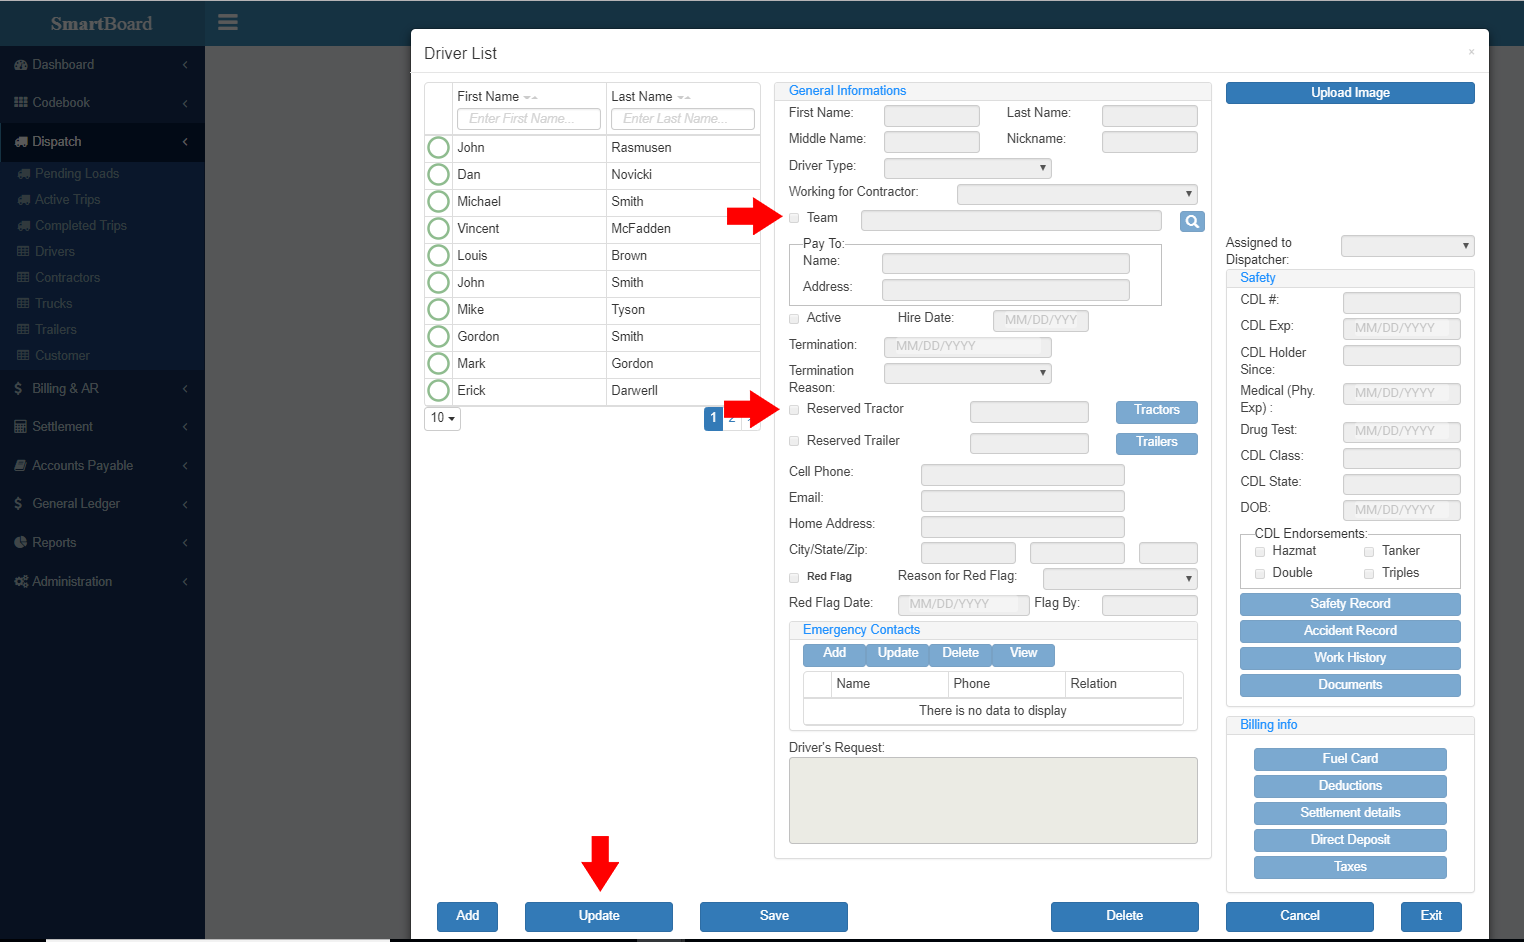
In General Information section enter driver’s information.
In Additional Information check checkbox Reserved Tractor/ Trailer and then click Tractor/Trailer blue button to select tractor/trailer.
Step 4.
Add Emergency Contact
Step 5.
Enter all Safety Information in Safety section
Step 6.
Driver filters
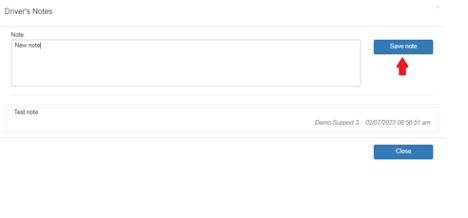
To create notes for a specific driver, click on “Driver’s Notes” and write down your note, after you’ve finished creating the note click on “Save note” for it to be saved.
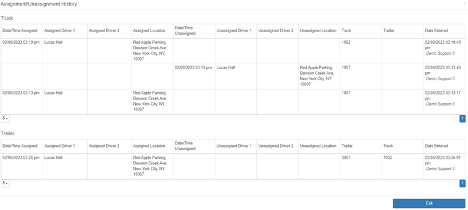
To see the assignment history for a specific driver, click on “Assignment History” and it will open a table with the assignment history of the driver.
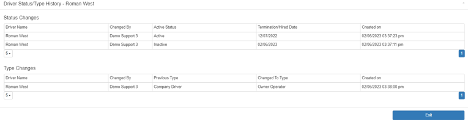
To see the history of a driver’s status and his driver type, click on “Show Driver Status/Type History” and it will open a table where you can see all of the changes.
To search for specific drivers, you can use the filters above the driver list and enter the criteria to find only the drivers you are looking for, such as the driver type or dispatcher.

To see the activity status of your drivers for a certain date, enter the date next to “Active As Of Date” and the driver list will show which drivers were listed as active/inactive during that time period.
Safety / Truck or Trailer Unassign
Step 1.
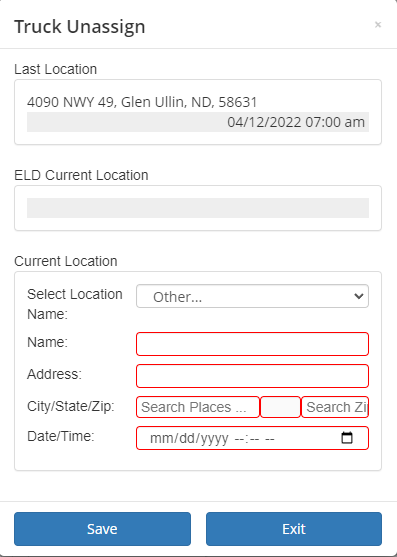
1. By going to Safety -> Trucks / Trailers” and clicking “unassign” you will disconnect your truck from the assigned driver.
Step 2.
2. A new window will open up (see below) where you will select the location, date and time for the “unassign”.
(All locations should be added in “Administration - > Support tables”)
Step 3.
As a bonus we have “unassign history” where you can see all the previous assignments for the given truck or trailer.
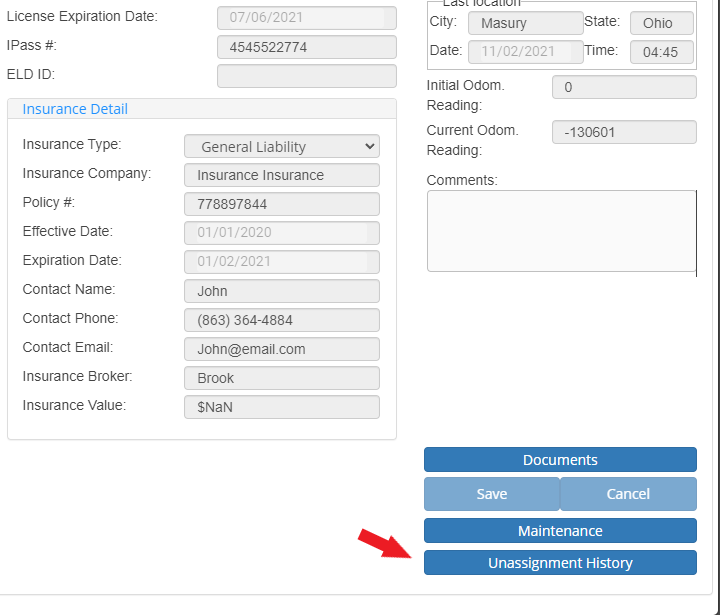
Step 4.
You can also see the “unassign history” in the “Assignment History” report.
Safety / Add Fuel Card
Step 1.
Click on Drivers from the Safety menu.

Step 2.
Select Driver and click on Fuel Card button under Billing Info.
Step 3.
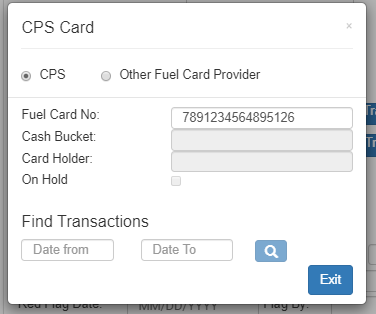
CPS FUEL Card Users, select CPS, enter the Fuel Card Number and click Exit.
Please make sure there are no spaces between the numbers. If the fuel card number is properly entered you will see the name of the driver attached to the card in your CPS system showing in the Card Holder field.
Step 4.
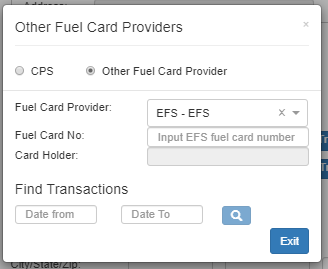
If you are using a different fuel card than CPS, select Other Fuel Card Provider, enter the Fuel Card Number and click Exit.
To search for fuel transactions, enter the date from and date to in the Find Transactions section and click on the search button.
Step 5.
Click on Save on the main Driver List and close the window.

Safety / Deductions
Step 1.
Click on Drivers under Safety menu.
Step 2.
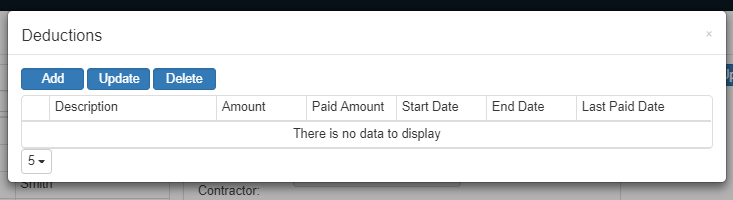
Click on Deductions under Billing Info
Step 3.
Click on Add
Step 4.
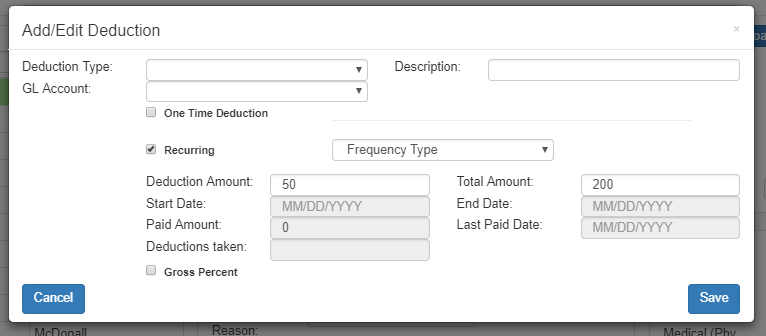
Select Deduction Type, select GL Account, enter a description if needed. Then click on One Time Deduction if want to create one-time deduction or select Recurring to set deduction that will repeat and then select Frequency Type-choose weekly, monthly, quarterly or yearly.
Deduction Amount - in this field enter the amount that will be deducted each time.
Total Amount - in this field enter the total amount that needs to be deducted.
(For example, if the amount is $1000 and need to deduct $100 every week, then in Deduction Amount field we will enter 100 and in Total Amount, we will enter 1000)
Deductions Taken – this is how many times the deduction was taken so far.
(For example, if we set deduction to be in 10 times then we will put number 10 in Total Deductions field and Deductions Taken will display how many times deductions was taken so far)
Paid Amount - this is the amount that is paid already.
Last Paid Date - the last date a deduction was taken.
Safety / Driver Settlement
Step 1.
Click on Drivers under Safety menu.
Step 2.
Click on Settlement Details under Billing Info section
Choose Pay method and enter the value in Loaded Pay Rate. This is very important for creating driver settlement in Settlement Processing. If the driver works for owner operator, then in Pay To choose Owner Operator’s company name. In Pay method choose Pay per mile or Pay a percentage of revenue.
In Loaded Pay Rate field enter amount that is paid per mile or percentage amount. (Example 0.50 if paying driver per mile or just enter 85 if paying percentage). Empty Pay Rate field is if the amount for empty miles is different form loaded miles rate.
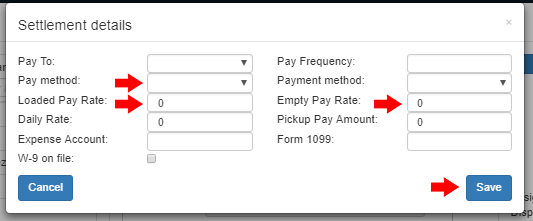
Step 3.
Click
and click Exit to exit page
Safety / Create Team Drivers
Step 1.
Select Drivers under Safety menu.
Step 2.
Select a first driver and click Update
Step 3.
Select Team checkbox and click on the blue search button
Step 4.
Select a second driver, click Update
Step 5.
Select Team checkbox and click on the blue search button
Step 6.
Select a first driver, click on Update
Step 7.
Click on Tractor button and select the same truck that is assigned to the first driver.
Repeat Step 5. to assign trailer. Both drivers must be assigned with the same tractor and trailer
Step 8.
Click Save and then click Select
Step 9.
Click Save
Both drivers must be assigned to each other with the same tractor and trailer
Safety / Add Contactor
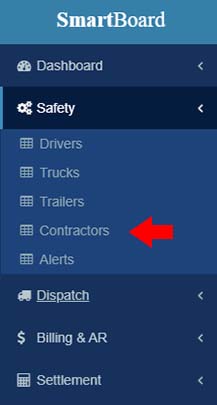
Step 1.
Under the Safety menu click on Contactors.
Step 2.
Click Add on Contractor List table.
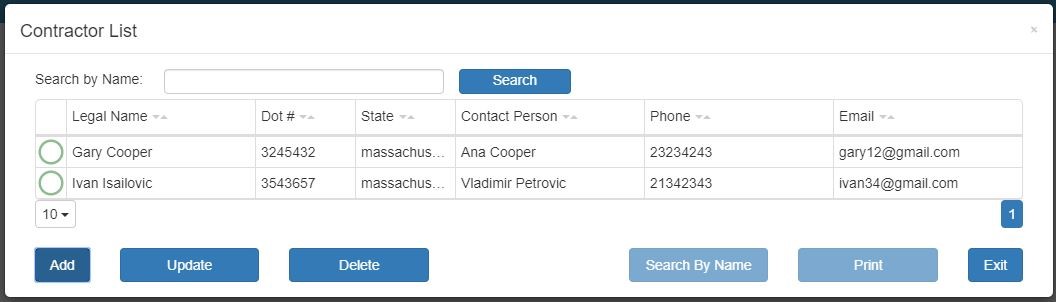
Step 3.
Fill out the relevant information.
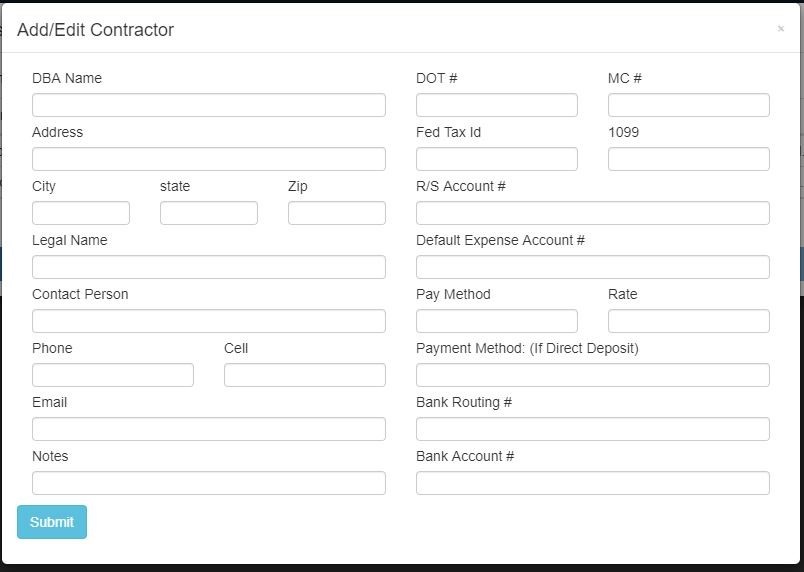
Step 4.
Click Submit.
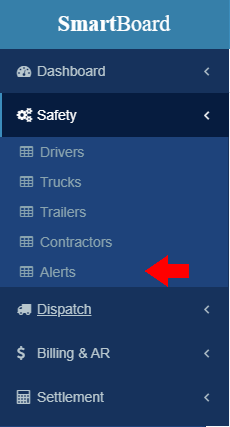
Safety / Create Alerts
You can set up Alerts preferences for Drivers, Trucks, Trailers, and Document Uploads.
Step 1.
Click on Alerts under Safety on the left side menu.
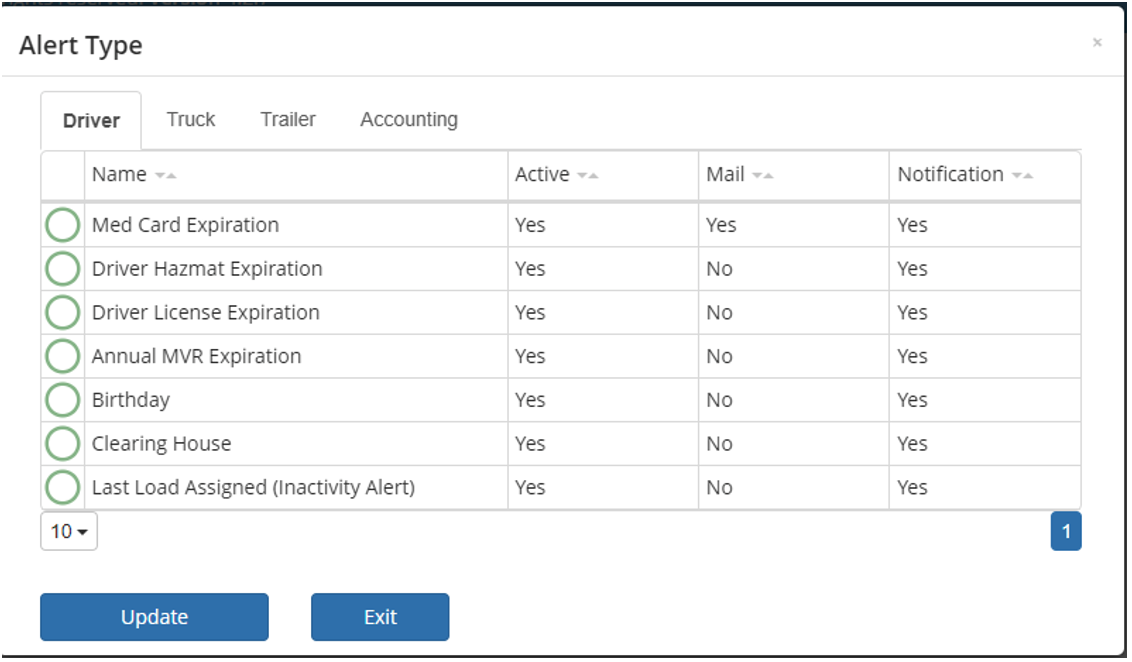
Step 2.
Click on the item from the list that you want to set an alert for and then click on Update.
Step 3.
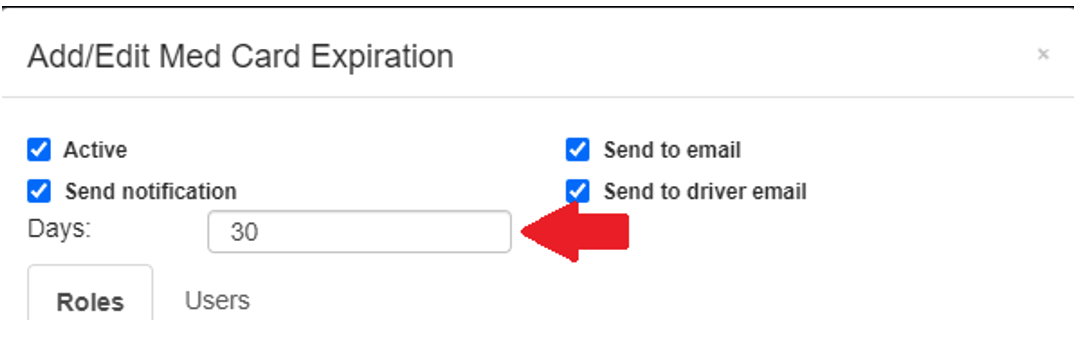
Make this active by selecting the Active checkbox. Select Send Notification to receive a notification on SmartBoard

Select “Send to email” to receive alert notifications via email and select Send to driver email if you wish the driver to receive email notification as well.
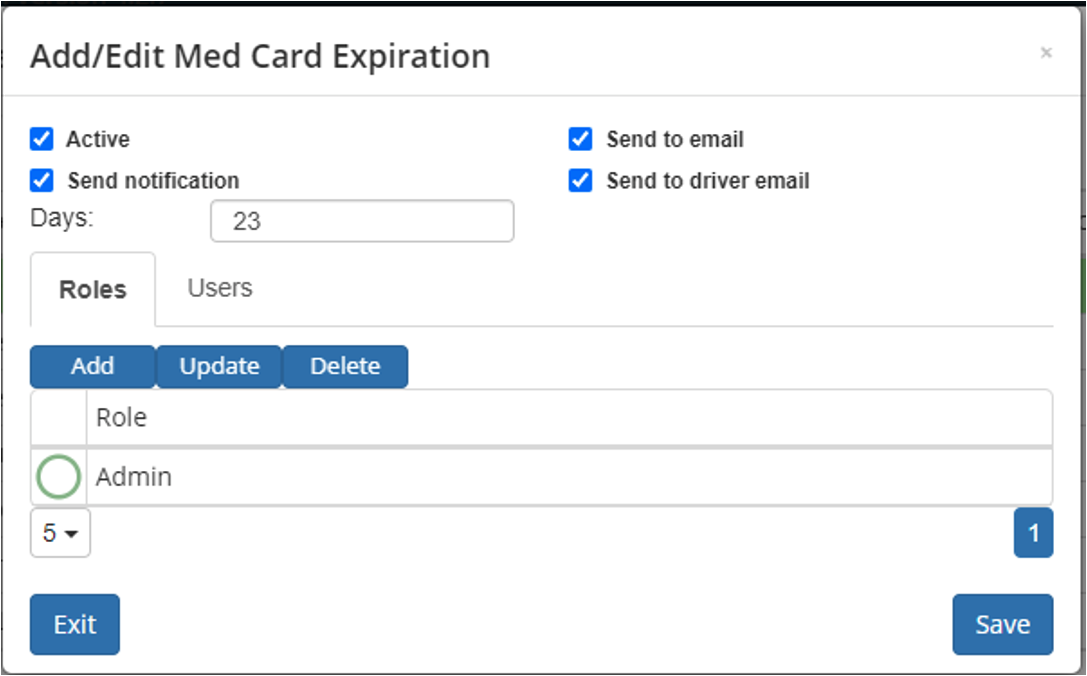
Step 4.
In the “Days” field modify the number of days ahead the alert is set for. For example, if you want to receive a notification 30 days before expiration date, then enter 30 in the Days field.
Step 5.
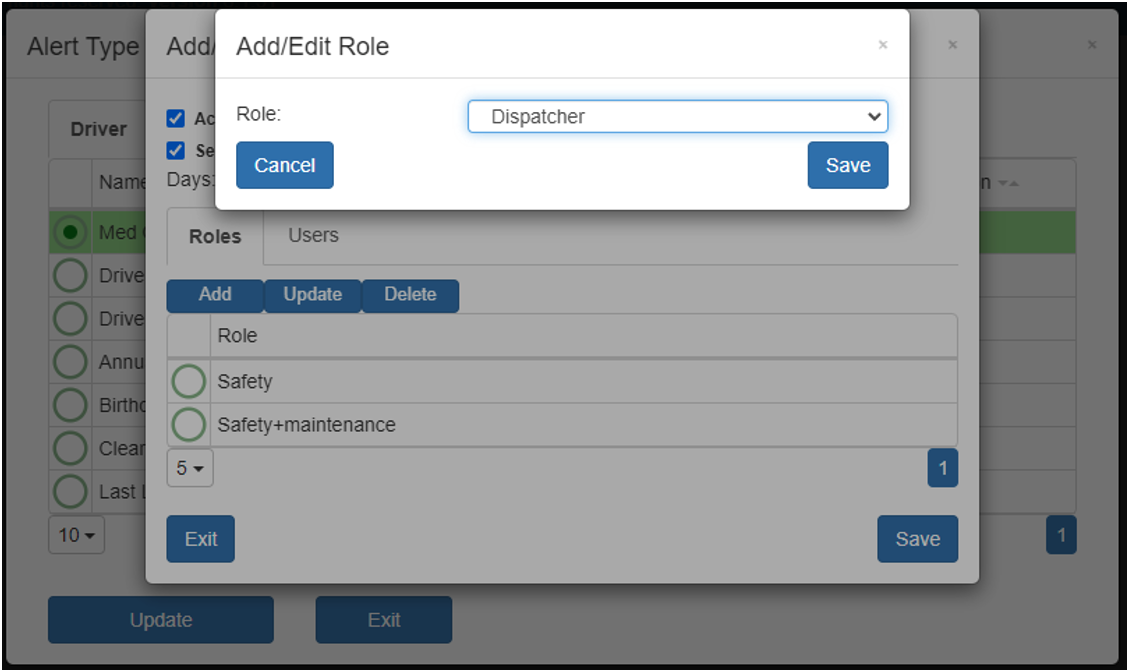
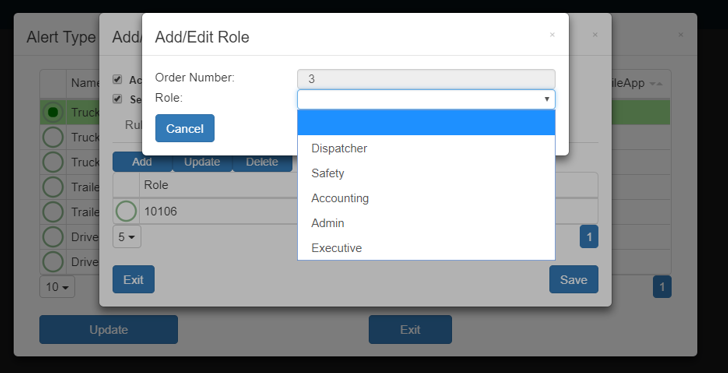
You can choose to either send this alert to every user that is in a specific role by choosing that Role from the Roles tab, or you can select specific users from the Users tab.
For Roles, Click on Add and select a role from the Role dropdown list and click Save.
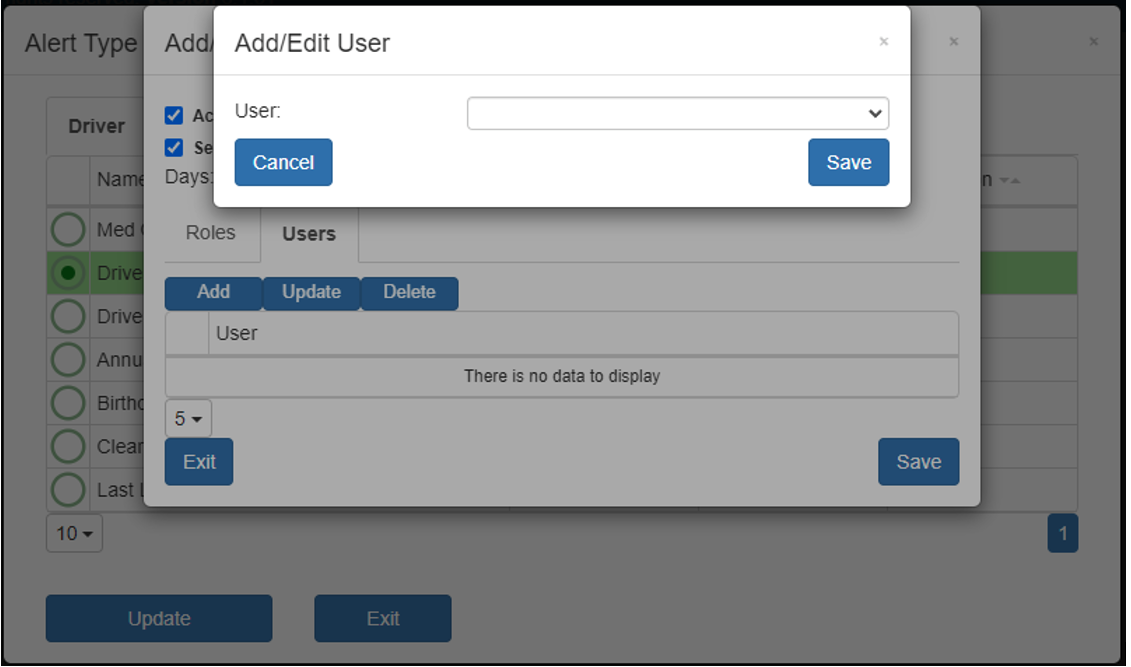
For Users, click on Users to select which user(s) will receive the alert notification.
After you create an alert, you can update this at any time by selecting the Alert Type and clicking Update.
Additional Info
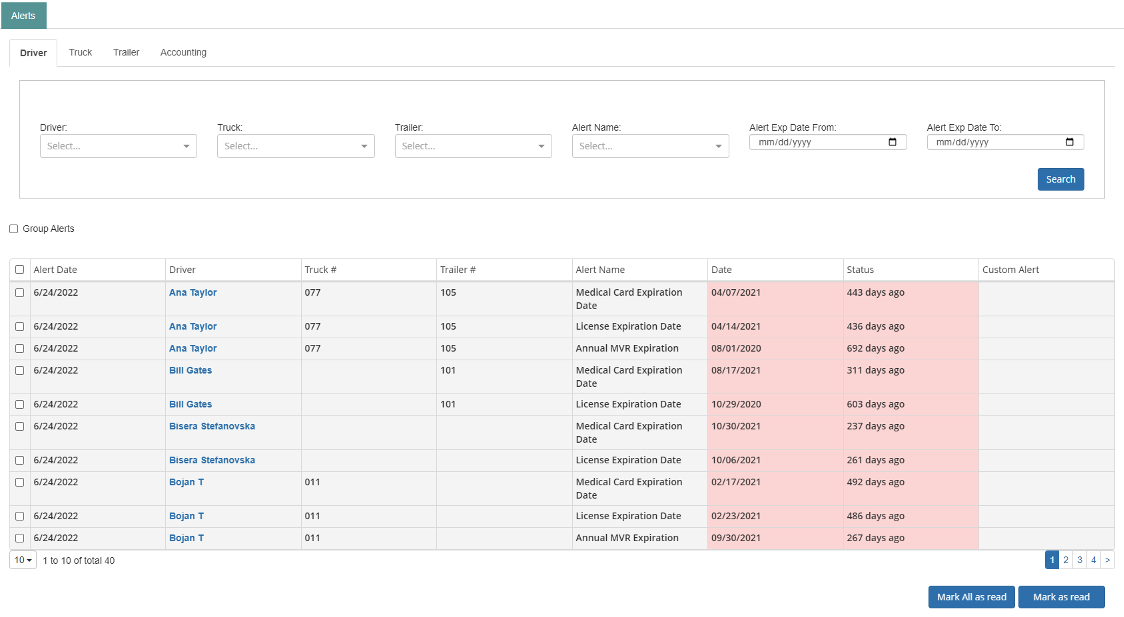
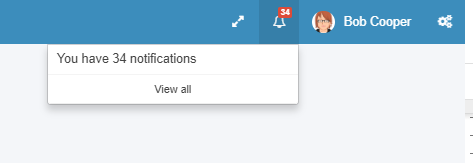
List of all alerts can be found when clicking on the bell icon in the upper right corner on SmartBoard and then click on “View All Notifications”.
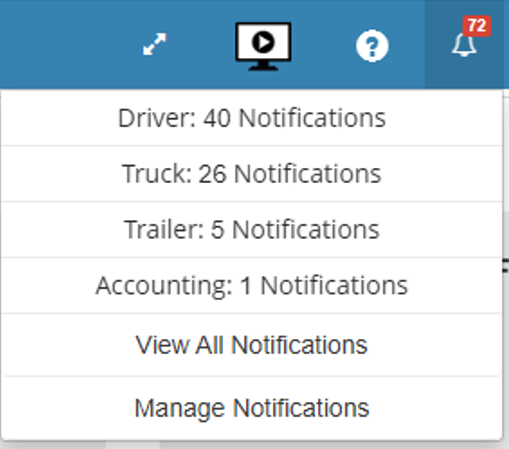
By clicking “View All Notifications” you will see all notifications.
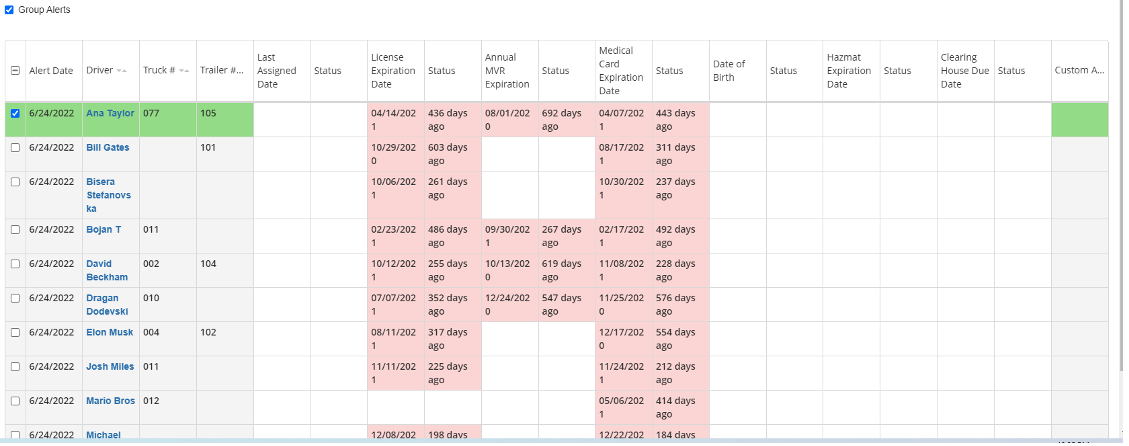
By clicking “Group Alerts” SmartBoard will group them by Driver, Truck or Trailer, and will show you all alerts for the selected driver, truck or trailer, grouped in one line.
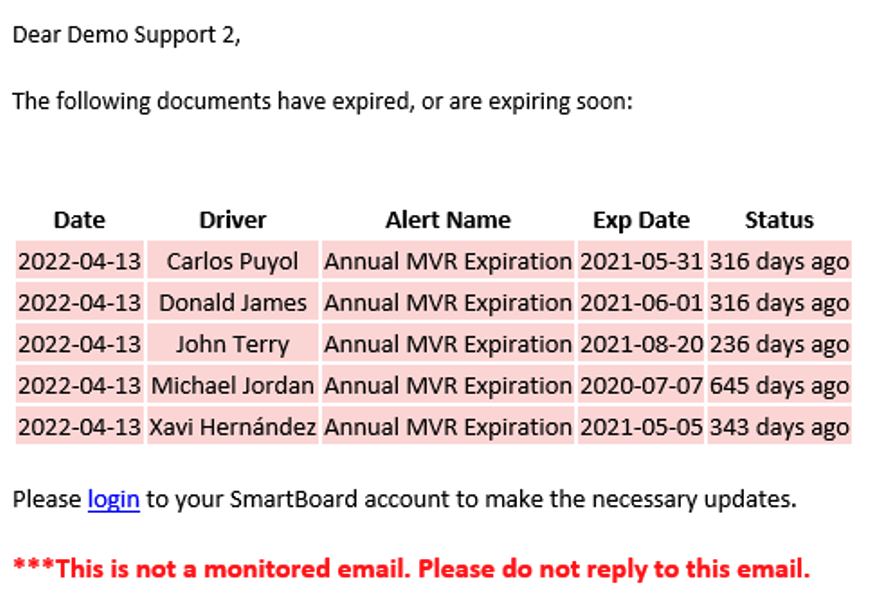
Here is an example of the email notification you will get if you set up your preferences to receive the alert notifications via email.
Step 6.
For Roles, Click on Add and select a role from the Role dropdown list and click Save.
Click on Update to update a role or click Delete to delete the role.
Step 7.
For Users, click on Users to select which user(s) will receive the alert notification.
Repeat Step 6 to select and save the user.
After you created an alert, you can update this at any time by selecting the Alert Type and clicking Update.

List of all alerts notification can be found when click on bell icon in the upper right corner on SmartBoard and then click on View all.
Safety / Create IFTA
To generate IFTA you need to provide us with your PC MIler or ProMiles license for mileage calculations.
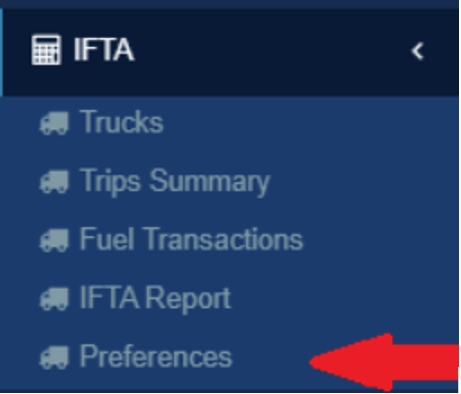
Step 1.
Select Preferences from IFTA on the left side menu
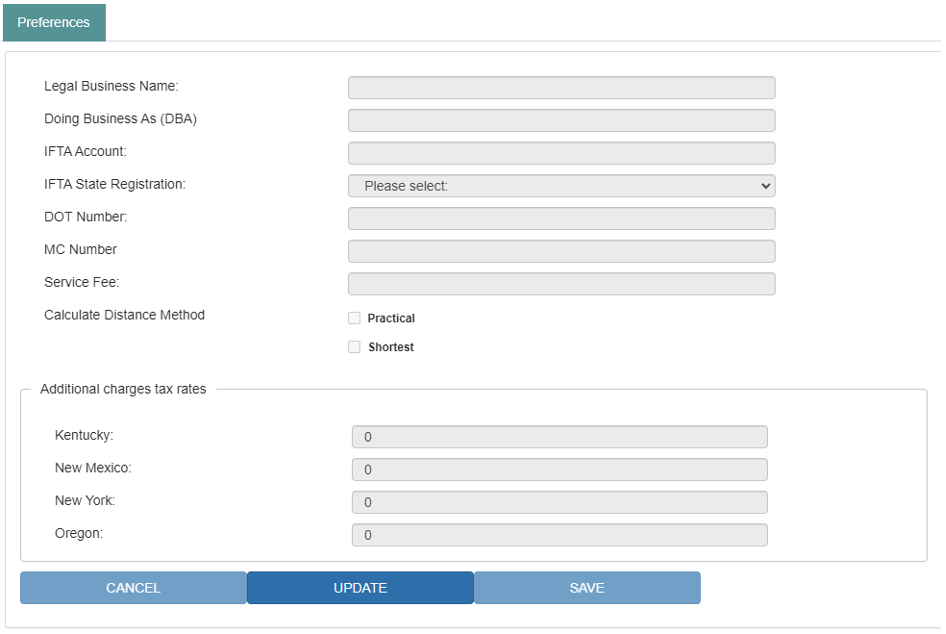
Step 2.
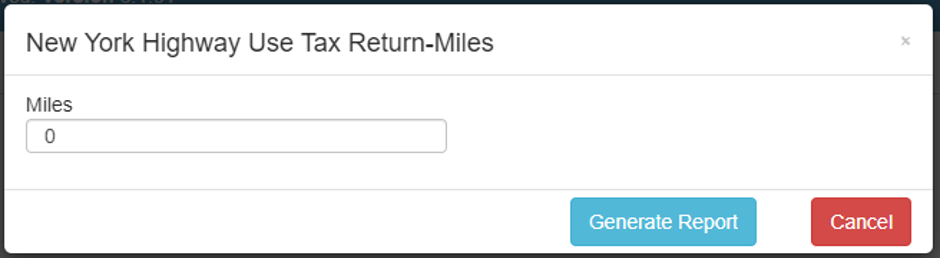
Click Update, to add information about your company, and additional tax rates for KY, NM, NY and OR.
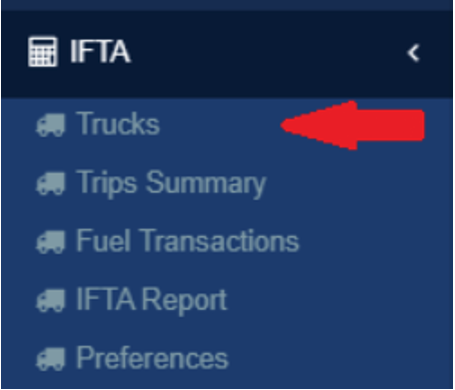
Step 3.
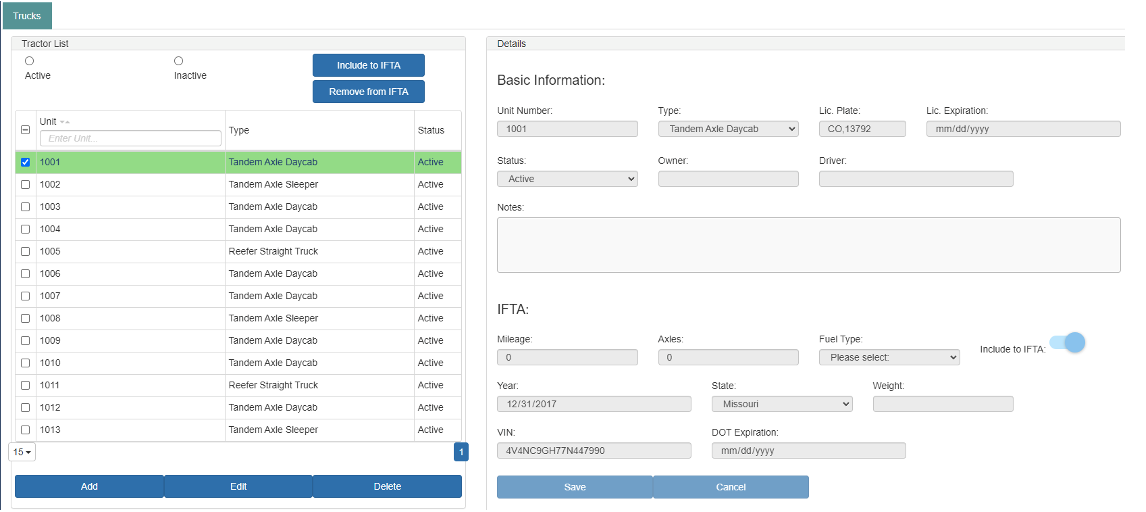
Click on Trucks from IFTA on the left side menu
Step 4.
Choose Unit and then select Include to IFTA on the right side on details and click Save. You can include multiple units to IFTA by selecting one or more and clicking on the “Include to IFTA” button.
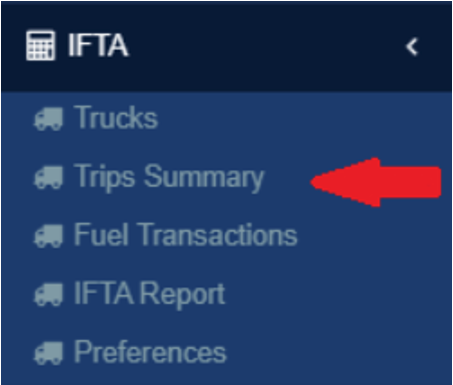
Step 5.
Click on Trips Summary from IFTA on the left side menu
Step 6. (If you use ELD for IFTA report, skip this step)
Choose Quarter or month and the truck for which period you would like to generate the trips.

Click on Generate Trips - to generate all the trips that are entered in the Dispatch section for the truck you selected.
Next, click on Generate Empty Trips - to generate all the trips with empty miles for the Truck you selected.
Add Trip - You can manually add a trip if the trip is not entered under Dispatch.
Update Trip - click if needed to make any changes to the selected trip.
Delete Trip - click to delete the selected trip.
Delete All Trips - click to delete all the generated trips in the table.
Please note: Partial Trips from the Dispatched section are not shown here.
Please note: TONU trips are marked with blue color and for IFTA calculation the Destination matches the Origin.
Click on the yellow Edit button in the second table to view Miles driven per State for the selected trip.

By clicking on EXPORT TRIPS an excel file will be downloaded to your PC where you can see information about the truck (such as the miles, empty miles and dates for the loads)
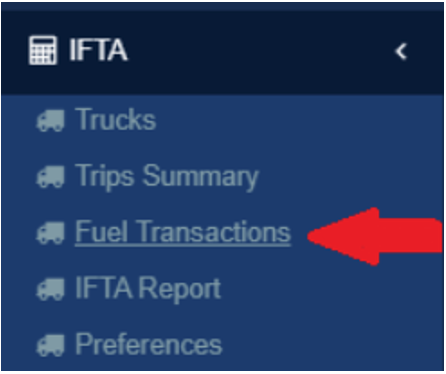
Step 7.
To generate the fuel gallons, select Fuel Transactions from IFTA on the left side menu.
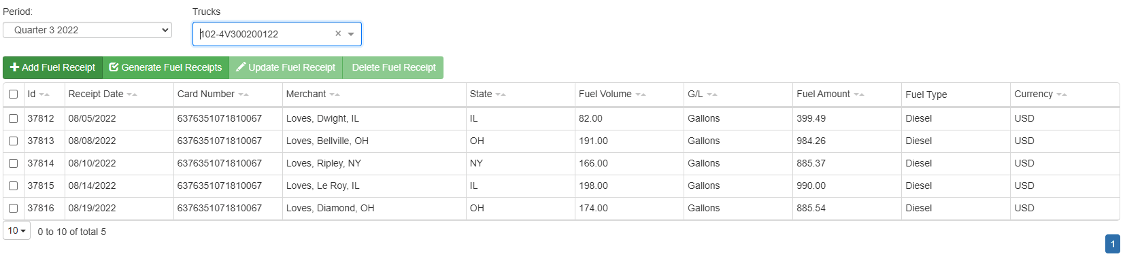
Step 8.
Choose the Period and Truck you would like to generate the Fuel Report for.
Click on Generate Fuel Receipts to generate the fuel transactions from Compass Payment Services fuel card.
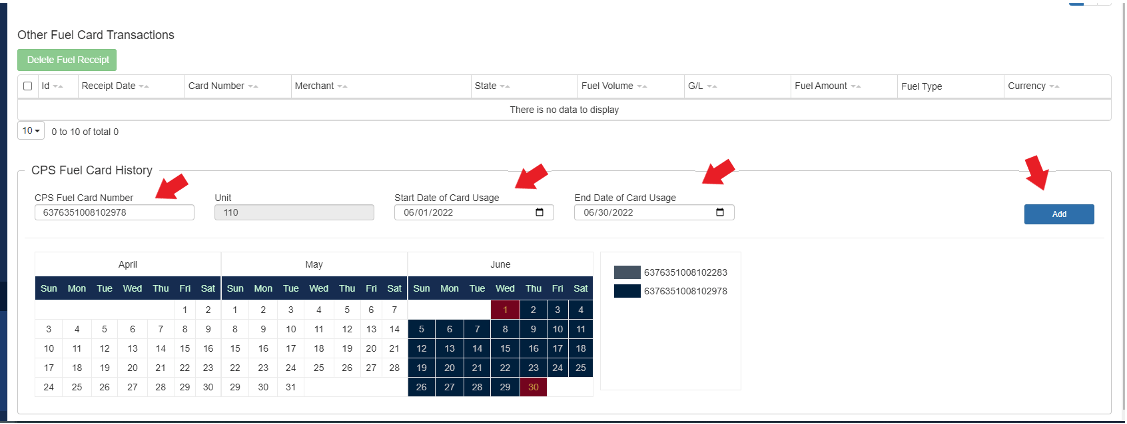
Generating fuel transactions from multiple fuel cards
You can manage your CPS cards in the CPS Fuel Card History section. From here you can add fuel cards and set the time period they were used.
To add a CPS Fuel Card, you need to put in the Fuel Card Number and select the date when the card was being used.
If you want to change the date click on the red square at the beginning or end and enter the correct date.
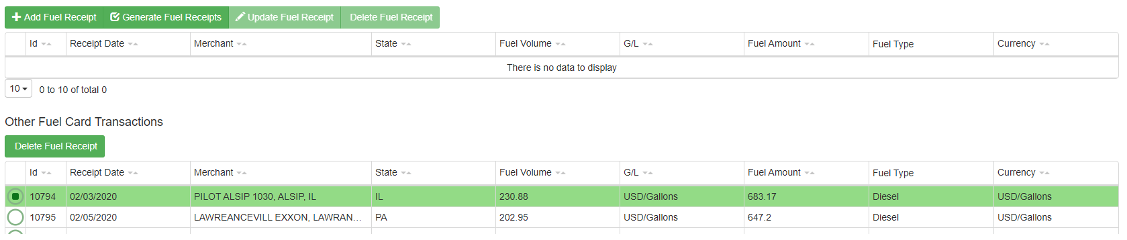
Click on Add Fuel Receipt to add additional fuel receipt, for example when the Driver purchased fuel with another method of payment except your company fuel card.
Click on Update Fuel Receipt - if you need to make any changes to the selected fuel receipt.
Click on Delete Fuel Receipt - to delete the selected fuel receipt.
Fuel card transactions that are imported from Other Fuel Card Providers in the Settlement section of SmartBoard are shown in the table below.
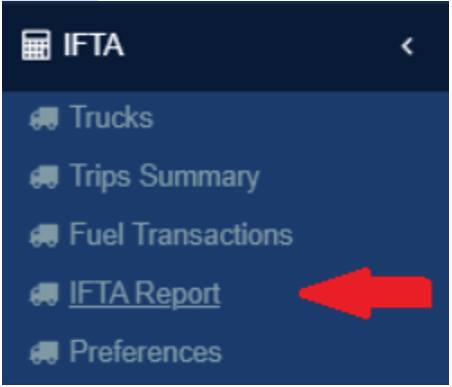
Step 9.
To generate the Report, select IFTA REPORT from the IFTA module in the left side menu.
Step 10.
Choose the period for which you want to create the IFTA Quarterly Report. Select preferred method for mileage (Dispatch Trips or ELD). Choose the unit for which you want to generate the IFTA Report, or select all units. Click on Generate to download the report in PDF format.
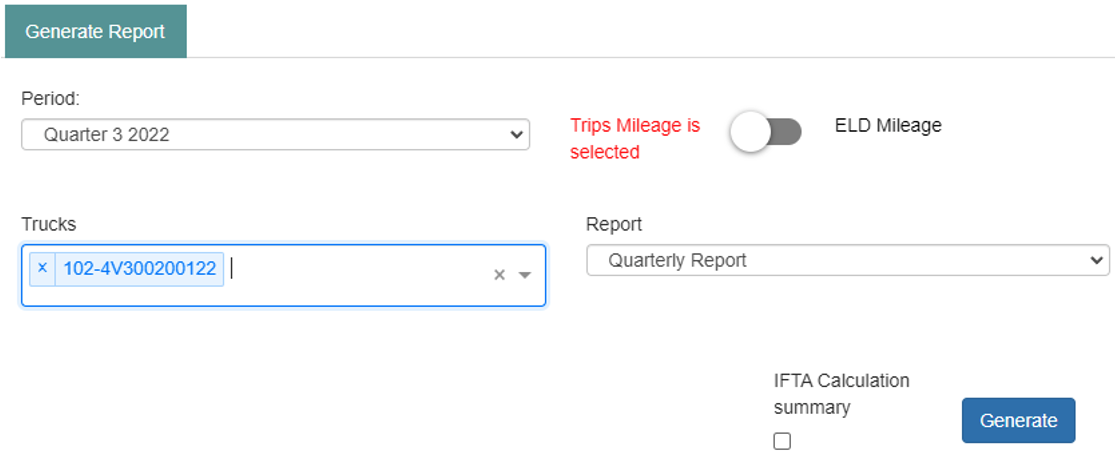
If you want to have the page with the additional charges (picture below) you will need to check the “IFTA Calculation summary” box.

The Report will download in .pdf format to your computer.
Step 10a.
To generate a monthly mileage report, select the preferred month, truck unit and state for your report. Choose your preferred method for mileage (Dispatch Trips or ELD).
After that click on “Generate” to generate your monthly mileage report.

Safety / Recruiting
Recruiting module will be of great use for your Recruiters, as they can build a database of drivers they talk to, to drive for your company. Recruiters will:
-
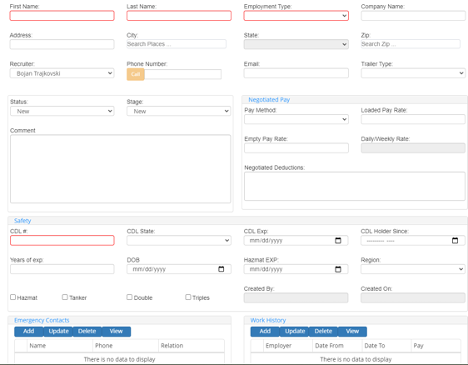
Enter all necessary Driver information like: Name, Last Name, Employment type, Phone Number, CDL#, State, DOB, Negotiated Pay and Deductions, Employment History and Emergency Contacts;
-
Add notes and keep a history of all conversations they had with the Drivers
-
Change Status of the Driver:
- Interested - driver is interested to drive for your company
- Not Interested - driver is not interested to drive for your company
- Not Qualified - driver is not qualified to drive for your company
- Dead to me - driver is not interested to drive for your company
- Prospect - driver is interested to drive for your company and the employment verification process has started
-
Change Status of the Driver:
- New - driver is entered in the system
- Employment Verification - driver is submitted for employment verification
- Driver Eligible - driver is eligible to drive for your company
- Driver Denied - driver is not eligible to drive for your company
- Hired - driver is hired to drive for your company
-
See the history of all activities, status, and stage changes.
- Interested - driver is interested to drive for your company
- Not Interested - driver is not interested to drive for your company
- Not Qualified - driver is not qualified to drive for your company
- Dead to me - driver is not interested to drive for your company
- Prospect - driver is interested to drive for your company and the employment verification process has started
- New - driver is entered in the system
- Employment Verification - driver is submitted for employment verification
- Driver Eligible - driver is eligible to drive for your company
- Driver Denied - driver is not eligible to drive for your company
- Hired - driver is hired to drive for your company
Step 1.
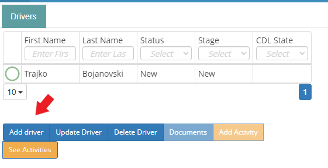
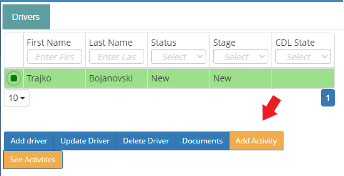
To create a driver click on “Add driver.” Enter all driver information.
Step 1.1.
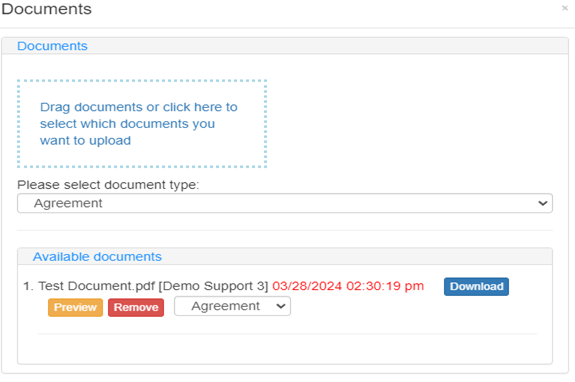
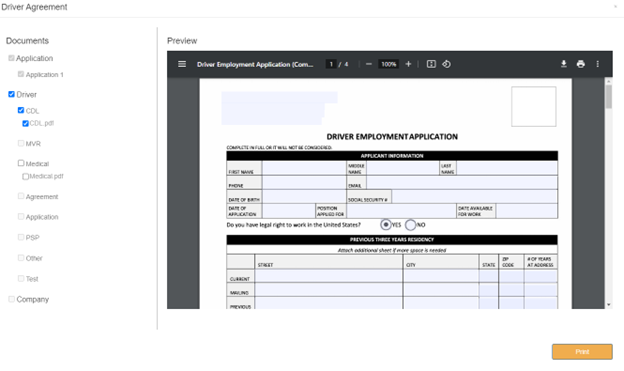
To enter documents related to the driver, click on “Documents” and from this form you can select the document type and upload the document.
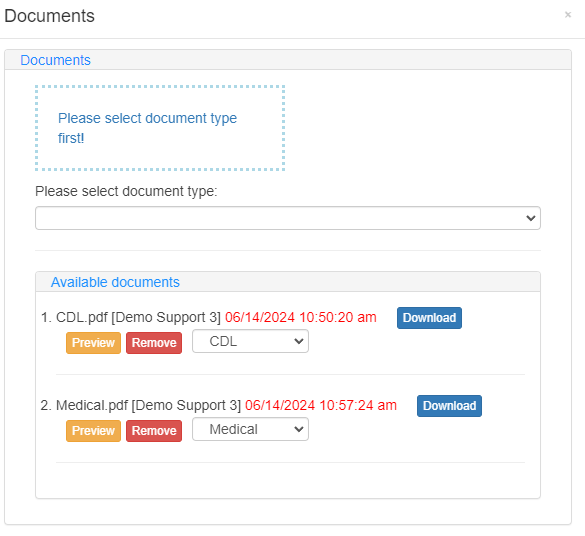
If you would like to send an agreement to the driver, click on “Driver Agreement” and from this form you can print the agreement to send to the driver.
You can also select the documents you have entered for the driver (such as CDL) and print them as well.
Step 2.
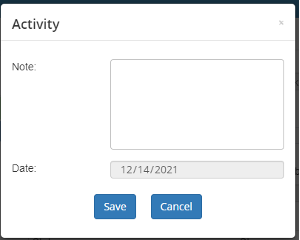
To create activity, click on “Add Activity.” Enter note and click on Save.
Step 3.
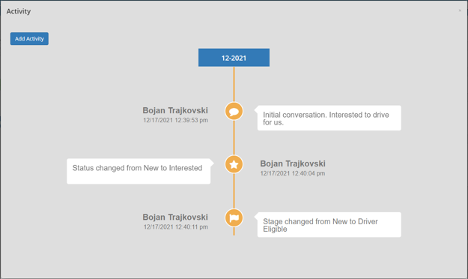
To view history click on “See Activity” and you can see all of your previous Activities/notes entered, and the history of status and stage changes.
Step 4.
If the driver is Hired, change the stage of the driver to “Hired.” The Driver with all its information will transfer in Safety - > Driver List and you will not be able to make any more changes on the Driver in the Recruiting module.
Safety / Safety Documents
For a more detailed look at your documents, use the “Safety Documents” part.
Step 1.
Click on “Safety Documents” under Safety menu
Step 2.
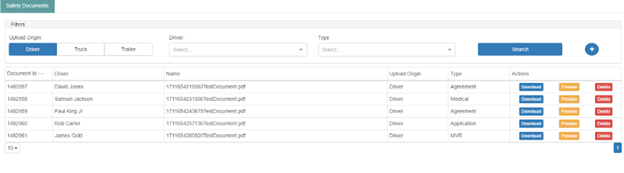
The “Safety Documents” form will open and from here you will be able to view all of your documents. Choose whether you would like to view them for your Drivers, Trucks or Trailers.
The documents can be downloaded, previewed or deleted as needed. Use the filters to help you with your search, such as viewing the documents for one driver or viewing only documents for a certain document type.
Step 3.
To upload a document, first you must select a Driver, Truck or Trailer in the filter and then click on the icon. From here you will have to select the document type and then either drag the document or upload them from your PC.